Easy DIY Mountain Map Art Print

Looking for beautiful wall art? Showcase where you’ve been with this easy DIY mountain map art that you can print in any size!
I have a soft spot for big art. I just don’t have the budget for it.
Which is why I love DIY art projects! They’re customizable and extremely affordable. (Like this framed tapestry we made)
Well, I had an awkward space in our upstairs hallway I needed to fill. I also had this 40″ frame I found for free that fit the space perfectly.

That could only mean one thing: Time for another DIY art project!
We just moved to our 4th state and I wanted a way to showcase some of the places we’d lived. I also wanted something I could just print, rather than draw or paint.
This project fit the bill perfectly! It was easy, inexpensive and totally customizable.
You can make one too. All you’ll need for this tutorial is a free software called Canva. (I love this software and use it to make DIY art prints all the time.) Just be sure to create an account so you can save and access all of your designs.
Ready to make your own DIY mountain map art? Let’s get started.


DIY MOUNTAIN MAP ART USING CANVA
This tutorial will show you how I made this particular design. Once you’ve got the idea, you can customize the design and make it fit any size frame.
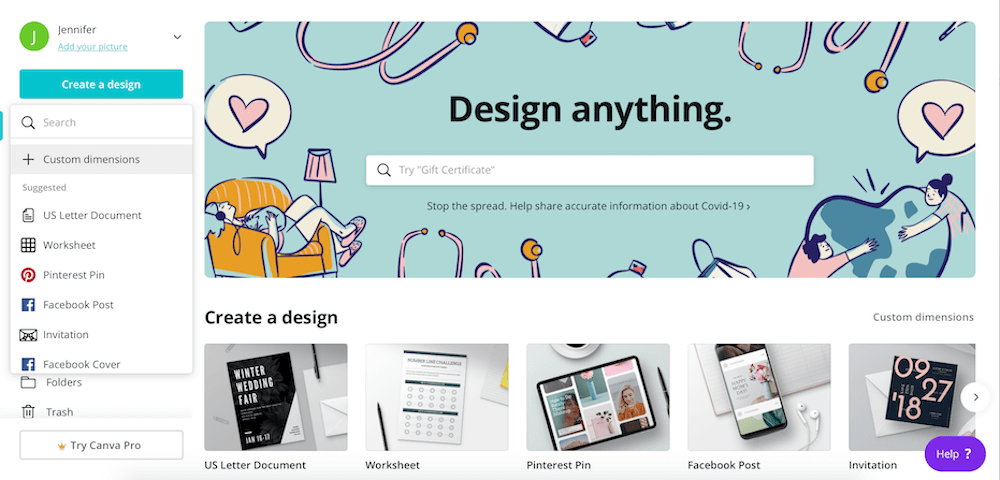
STEP 1: START A NEW PROJECT
- Click “create a design” on the left-hand side of the homepage.
- Click “custom dimensions”
READ NEXT: A Hardworking Home Office And Reading Room (Phase One)
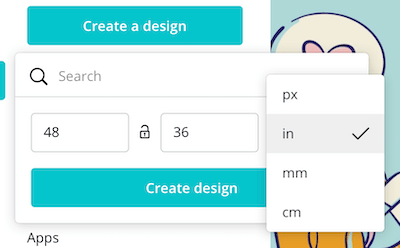
STEP 2: DETERMINE SIZE
- Enter the width and height your print will need to be
- Make sure to change the units! The default is px (pixels). Change it to inches.
- Click “create design”
(My frame without a mat allowed for a print that was 40 X 28.4 inches. I printed it as an engineer print and the closest size was 48 X 36 inches.)
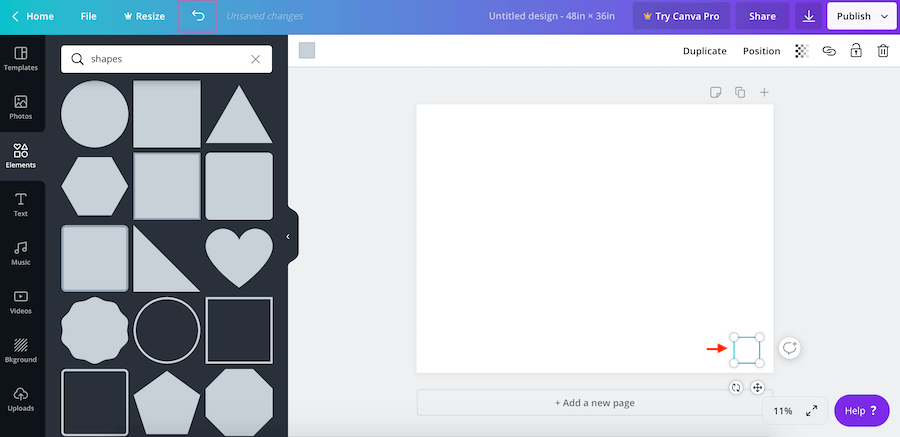
STEP 3: CREATE A FALSE MAT
- Create a false mat so the actual picture fits the frame when it’s printed
- To do this, select “elements” and click on a square outline
Important: You only need to do this if you’re frame isn’t a standard print size. (Mine was between 2 sizes of engineer prints, so I needed a false mat for perspective.)
If you will print your art in a standard size, skip to STEP 7

STEP 4:
- Make the outline thinner by selecting the corner of the square and dragging it inward

STEP 5:
- Drag edges (not the corners) to the correct size your print needs to be
- As you drag, a black box will appear telling you the size
- For reference, my “mat” was 40 inches wide and 28.4 inches tall
READ NEXT: How To Make And Frame Your Own Large Art For Cheap!
STEP 6:
- Center the “mat” by selecting “position” in the top right of your screen
- Select “center” and “middle”

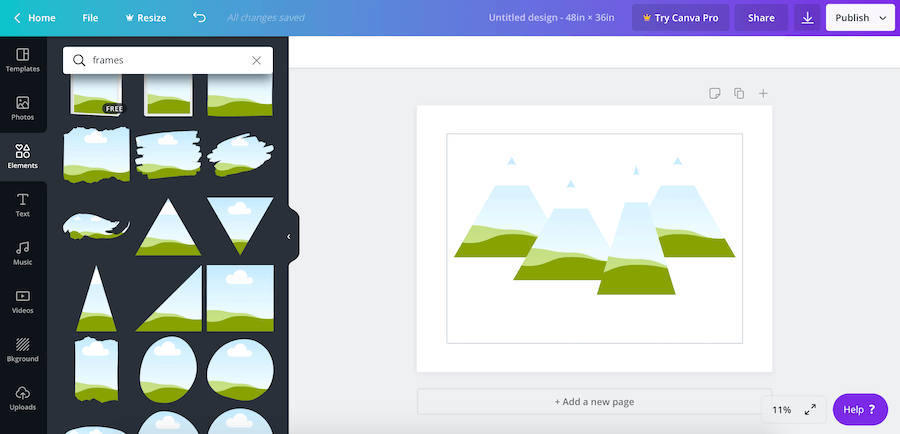
STEP 7: ADD THE MOUNTAINS
- Select “elements” again
- In the search bar, type “frames”
- Select a triangle and drag it to a smaller size

STEP 8:
- Add as many mountains as you need
- If you want any of the mountains to be the same size, simply select “duplicate”

STEP 9:
- Position the triangles

STEP 10: GROUP THE MOUNTAINS
- Make it easier to resize and move the mountains later by grouping them
- To do this, first move the false mat out of the way
- Next, click to the left of the mountains and drag right until they’re all selected
- Select “group” at the top of the screen

STEP 11:
- Reposition the false mat by selecting “position”
- Select “center” and “middle”
- You can now resize and center the mountain grouping if needed (This will come in handy once text is added.)
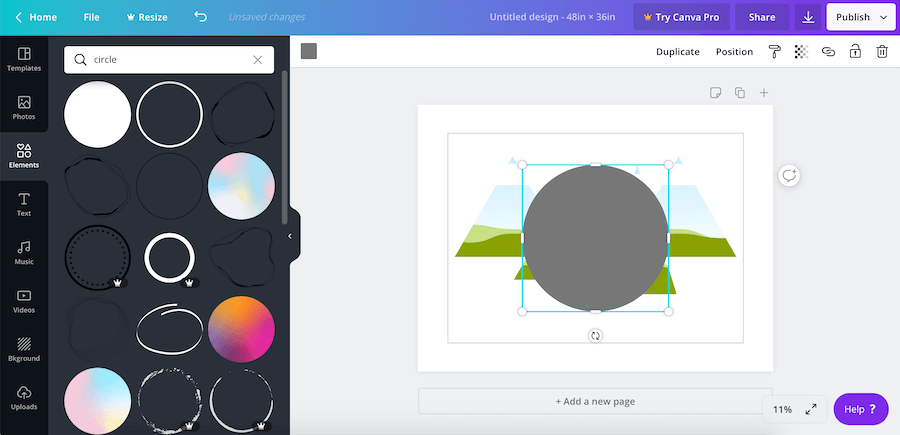
STEP 12: ADD THE SUN
- Select “elements”
- Type “circle” in the search bar and click on the one you like
- Drag the corner to make it smaller
- Position it near the mountains
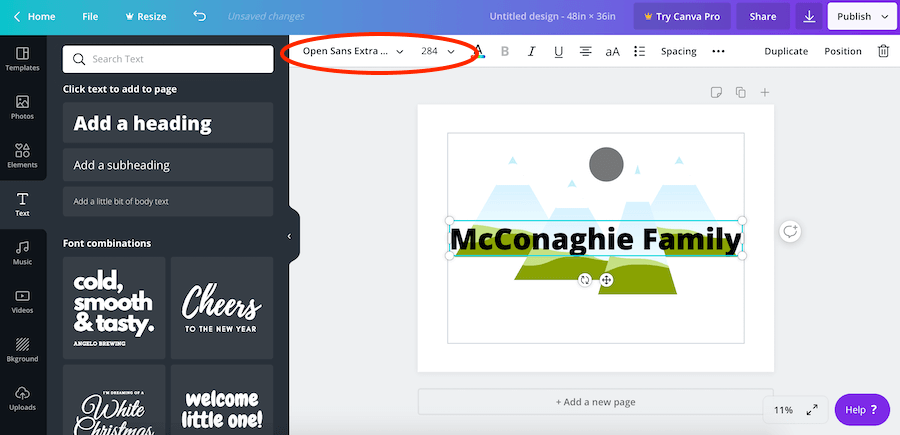
STEP 13: ADD TEXT
- Select “text” on the left side of the screen
- Select “add a heading”
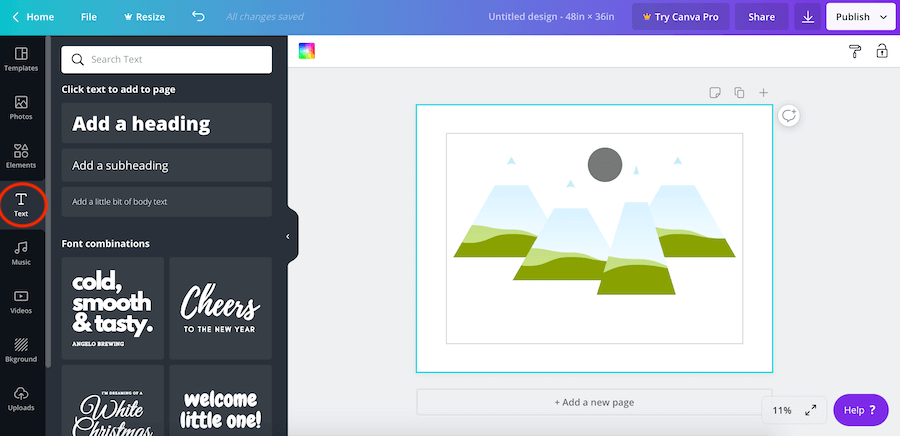
STEP 14:
- Change the text to your desired wording
- Change the look of the text using the options at the top of your screen
- Drag the text to your desired position
STEP 15:
- Repeat with any remaining text needed
For reference here is what I used:
- Top- Font: Lemon Tuesday, Size: 158, Spacing: 33
- Bottom- Font: Montserrat, Size: 40, Spacing 100

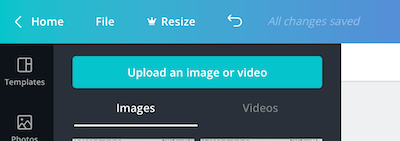
STEP 16 : ADD MAPS
- Select “upload” on the left side of the screen
- Upload any map images you’ll be using
- You can also simply drag and drop any images for instant upload
STEP 17:
- Select an image and drag it near a triangle frame
- Drag the corners of the image to size and position within the frame
- Repeat with each triangle and map image

STEP 18: ADD COLOR
- Select each triangle and use the options at the top of the screen to change the color, if needed
- Repeat with the sun and text
READ NEXT: Our Small Dining Room Makeover

STEP 19: FINISHING TOUCHES
- Delete false mat
- Add any finishing touches before downloading
Because my maps are black and white, I wanted to add a little border around each triangle. Here’s how I did that:
- Select a triangle and click “duplicate”
- Drag it to be slightly bigger
- Change the color (that will make it opaque)
- Center it on the original triangle (lines will appear to help find the center)
- Select “position”
- Select “backwards”
- Repeat with each triangle

STEP 20: DOWLOAD PRINT
- Select the “download” icon at the top of your screen
- Make sure the file type is PNG
- Select “download”

STEP 21: UPLOAD AND ORDER
Here are the instructions for uploading to Staples.com
- On the homepage, go to Services & Solutions > Copying Services > Blueprints
- Select 36 x 48, then “design Now”
- Select “color blueprints”
- Click on “add file” > “upload file”
- Choose your image, then select “upload”
- Enter a job name, then select “checkout”
- Enter your information and checkout
I love ordering big prints at Staples. It’s cheap and delivery is fast!

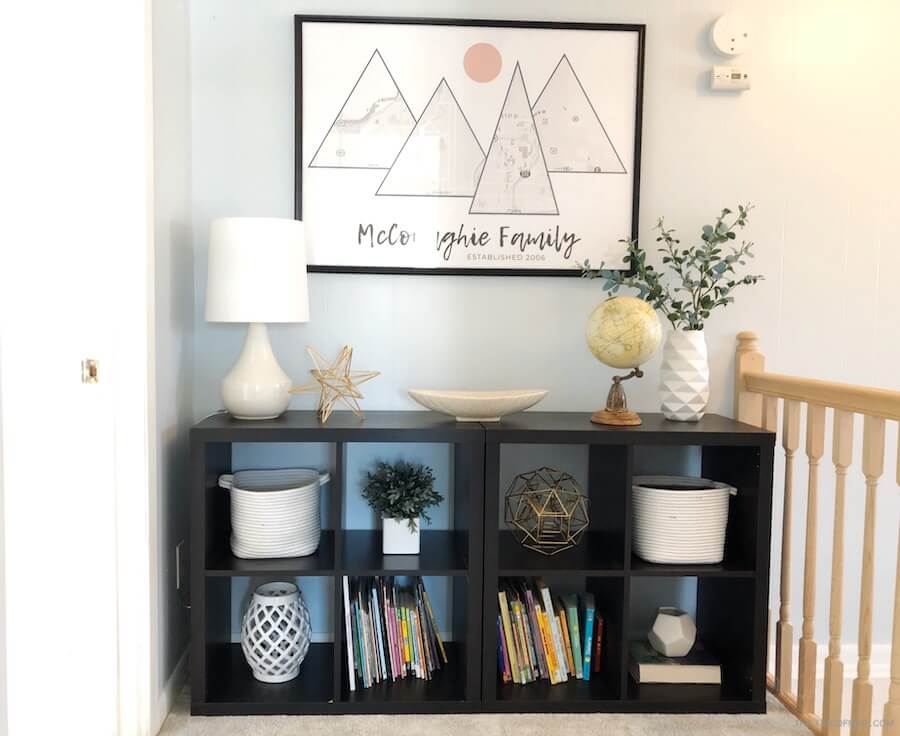
STEP 22: FRAME YOUR DIY MOUNTAIN MAP ART PRINT
Here’s my original frame again. I removed the old print and spray painted the frame black.
When my print arrived in the mail, I needed to trim it to size. I did this by tracing the outline of the old print/mat combo onto my print.
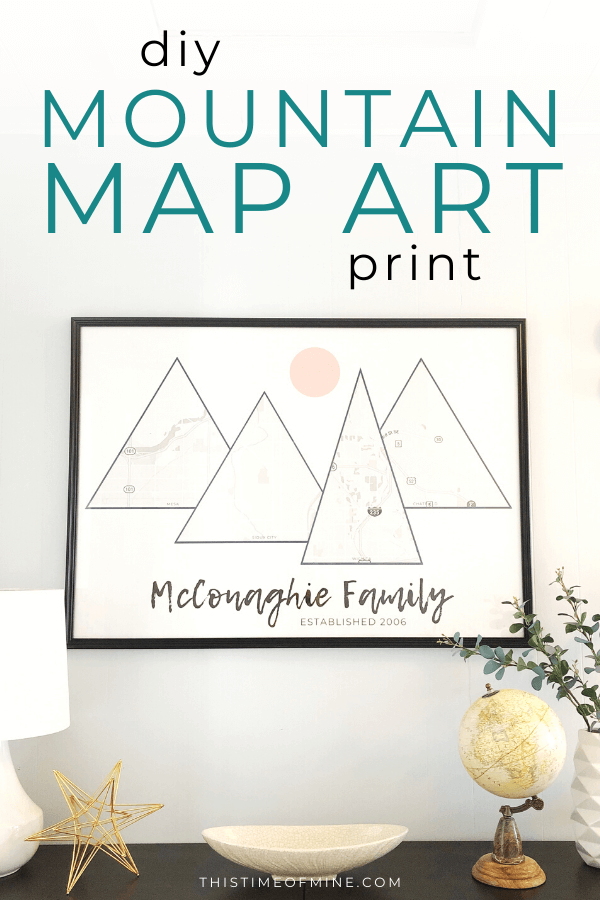
Once it was cut, I was excited to get it in the frame and on the wall!

I love my DIY mountain map art and I’m glad I was able to use it to fill up that awkward space in my hallway!

want to remember this?
PIN IT TO YOUR FAVORITE BOARD
Share this article: